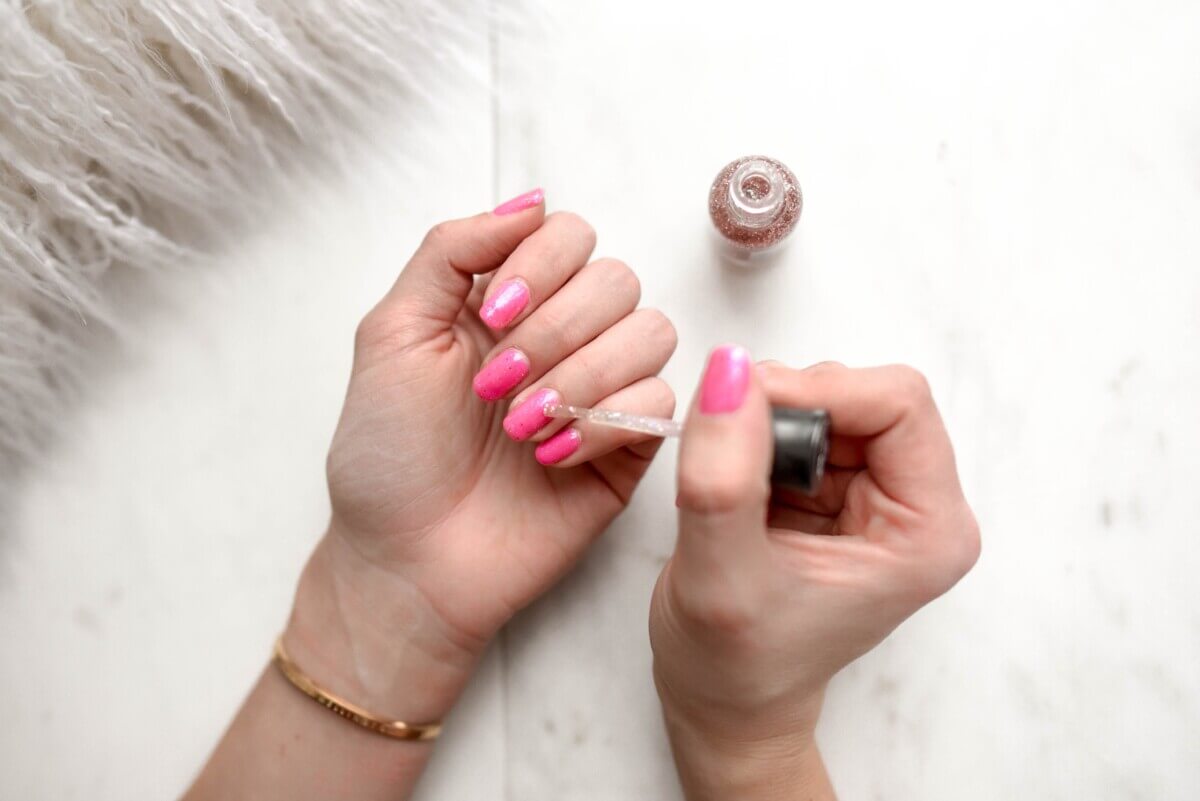
A woman painting her nails (Photo by Element5 Digital on Unsplash)
Manicures are a really easy way to add a little beauty to your fingertips. From simple to sophisticated, there are endless possibilities when it comes to color choices and designs. While many women prefer to leave it up to a manicurist when it comes to painting nails, others enjoy doing it themselves in the comfort of their own homes. That said, coming away with nails that look as good as if you’d just left the salon requires meticulous work and preparation. We wanted to know what the experts recommend when it comes to the best ways to paint your nails on your own.
A manicure is great for your mental health too. According to Elizabeth Journals, “One of the most immediate ways manicures benefit your mental health is by reminding you to take more time to perform self-care.” In fact, one recent survey reveals that many Americans are stuck in a self-care crisis of sorts. One in three people polled admit they haven’t a day to relax alone in more than three months.
And of course, not everyone has the time nor money to head to a nail salon. That’s okay! A do-it-yourself manicure can be easier than you think and might just be even more worth it in the end thanks to that much-needed alone time.
So what are some of the best ways to paint your nails? StudyFinds compiled a list of four steps from ten expert websites, to find the best ways to paint your nails. As always, we’d like to see your own at-home manicure recommendations in the comments below!
The Best Ways To Paint Your Nails, According to Experts
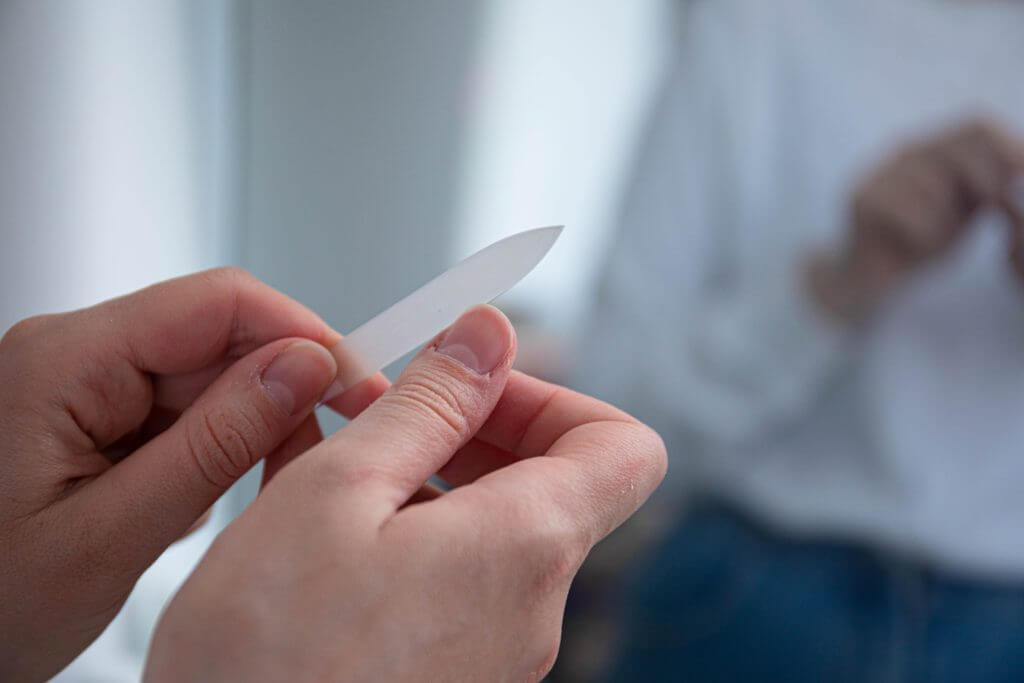
1. Prep, Prep, Prep!
Make sure to file and shape your nails before starting to polish. Filing gently and precisely can be the key to a great home manicure.
“Buffing the nails is a step often missed in home manicures that can increase circulation to the nail beds and create a smoother surface to apply polish,” adds Salon Success Academy.
Removing any old polish from your nails before adding new, is another important part. “Saturate a cotton swab with polish remover. Cover your nail with the cotton and allow the liquid to naturally pull the polish from your nail rather than forcefully rubbing,” shares Today.
Don’t forget your cuticles! Clutch Nails notes, “Pushing back the cuticle gives the nail a longer appearance, prepares it for polishing, and keeps the cuticles healthy.”
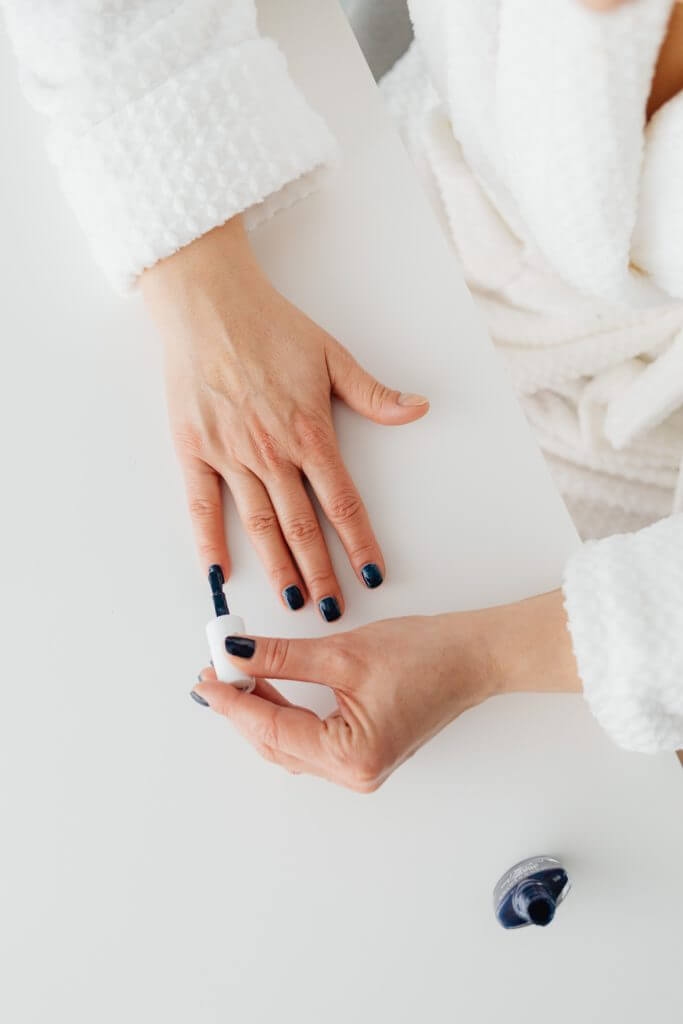
2. Paint, Paint, Paint!
Now that you’ve filed and buffed your nails and there’s no traces of old polish, it’s time to dive in and paint. There are many different kinds of nail polish out there to choose from depending on your mood.
Painting your own nails can be tricky, especially when you use your non-dominant hand.
Total Beauty shares this tip: “It’s better if you can lean both your elbow and palm on the flat surface for extra stability. Find the most comfortable and flexible position for your non-dominant hand when holding the brush and other tools.”
Apply a base coat. Why? “to hydrate and protect nails and prevent chipping,” notes Glamour.
Next, grab your color and paint away!
As far as painting technique goes, “In one smooth motion, move the brush across the center of the nail, from cuticle to tip. Then, swipe it along the left and right side. This three stripe method will ensure that you get an even coat across the entire nail surface, without adding too much polish at once,” adds Salon Success Academy.
Give it some time before painting on your next layer.
Once you are finished with color, use a top coat. According to Cosmopolitan, “paint it all the way to the tip of your nails to lock in your polish.”
3. Clean-Up
You may end up with an unsightly drop of polish here or there on the skin surrounding the nail after you’ve finished painting.
A simple remedy is to keep some nail polish remover on standby, along with some cotton swabs to gently wipe it away.
You can also use Vaseline on the skin around your nails before you polish. According to PureWow, “The Vaseline creates a barrier between the nail polish and the skin around your nails, so you’re not left with messy polish residue all over the place.”

A coat of liquid latex is another easy hack. Allure points out, “It dries into a stretchy, thin solid that acts as a barrier between your nail polish and your cuticles. After you’ve painted on your polish, you simply peel the latex off to reveal clean fingers underneath.”
4. Maintain Your Manicure
Now that the hard work is done, you’ll want to keep those nails looking on point.
One way is by touching up your top coat. Top coats can wear down over time, exposing your color coat. “By touching up the top coat, you can reinforce that barrier and keep the pigment intact,” notes Mindbodygreen.
Use cuticle oil to hydrate your nail bed. Byrdie adds, “The rich oils coat the skin and freshly dried polish to amplify the shine and protect your new mani from premature chipping or cracking.”
Sources:
- Salon Success Academy
- Today
- Clutch Nails
- Total Beauty
- Glamour
- Cosmopolitan
- PureWow
- Allure
- Mindbodygreen
- Byrdie
You might also be interested in:
Note: This article was not paid for nor sponsored. StudyFinds is not connected to nor partnered with any of the brands mentioned and receives no compensation for its recommendations.


